Customers
Customers and companies
Wavely Customers holds people and companies, custom fields, segments, file import and export.
The customer list
Open Customers. The list holds everyone who has talked to your business on WhatsApp or the web chat, with the columns Name, Phone number, Company, Last chat and Actions.
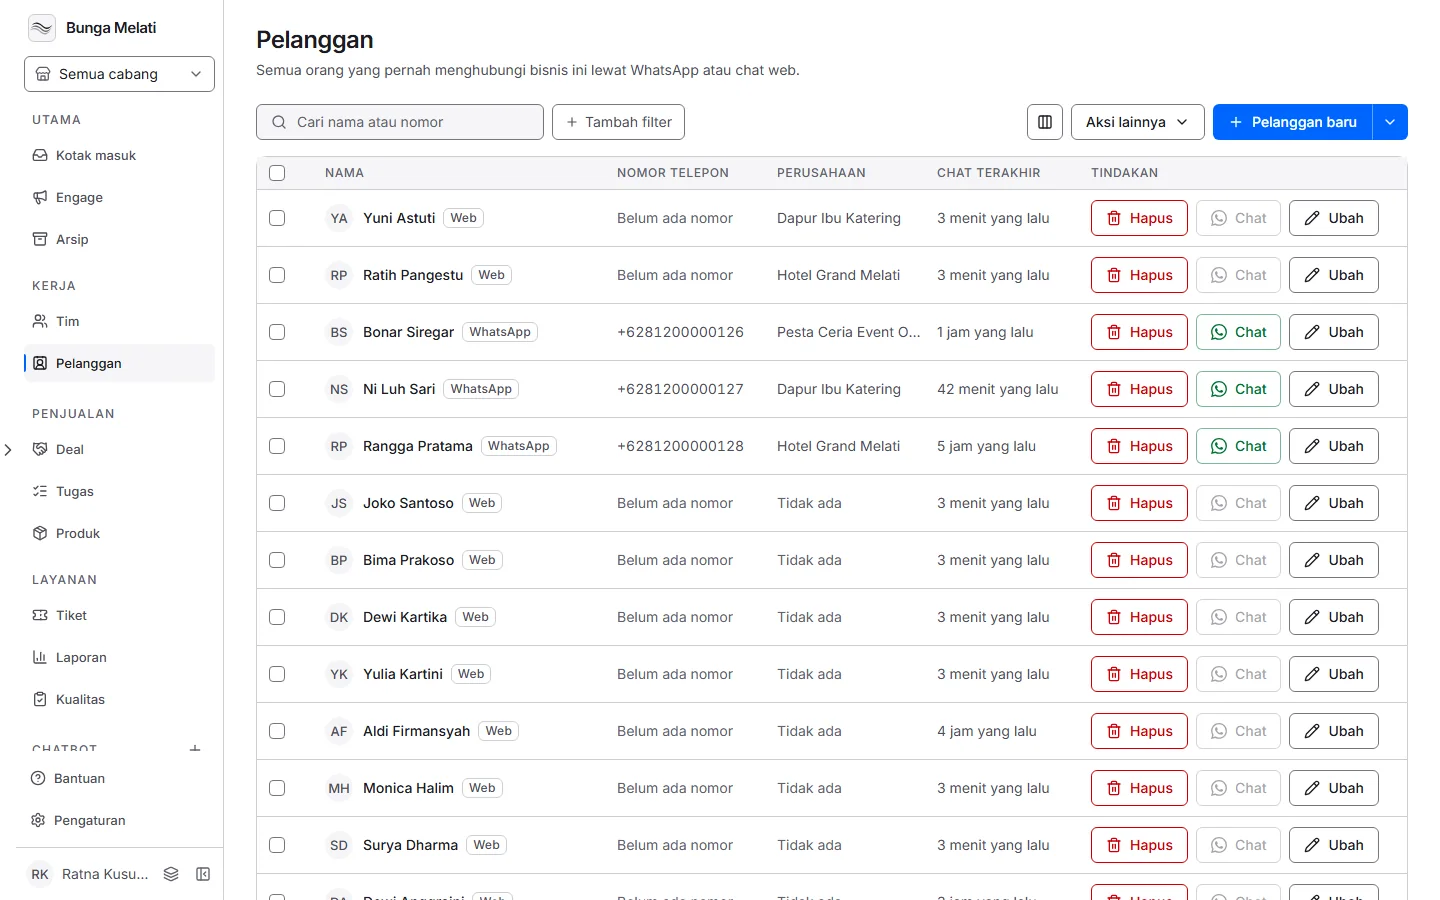
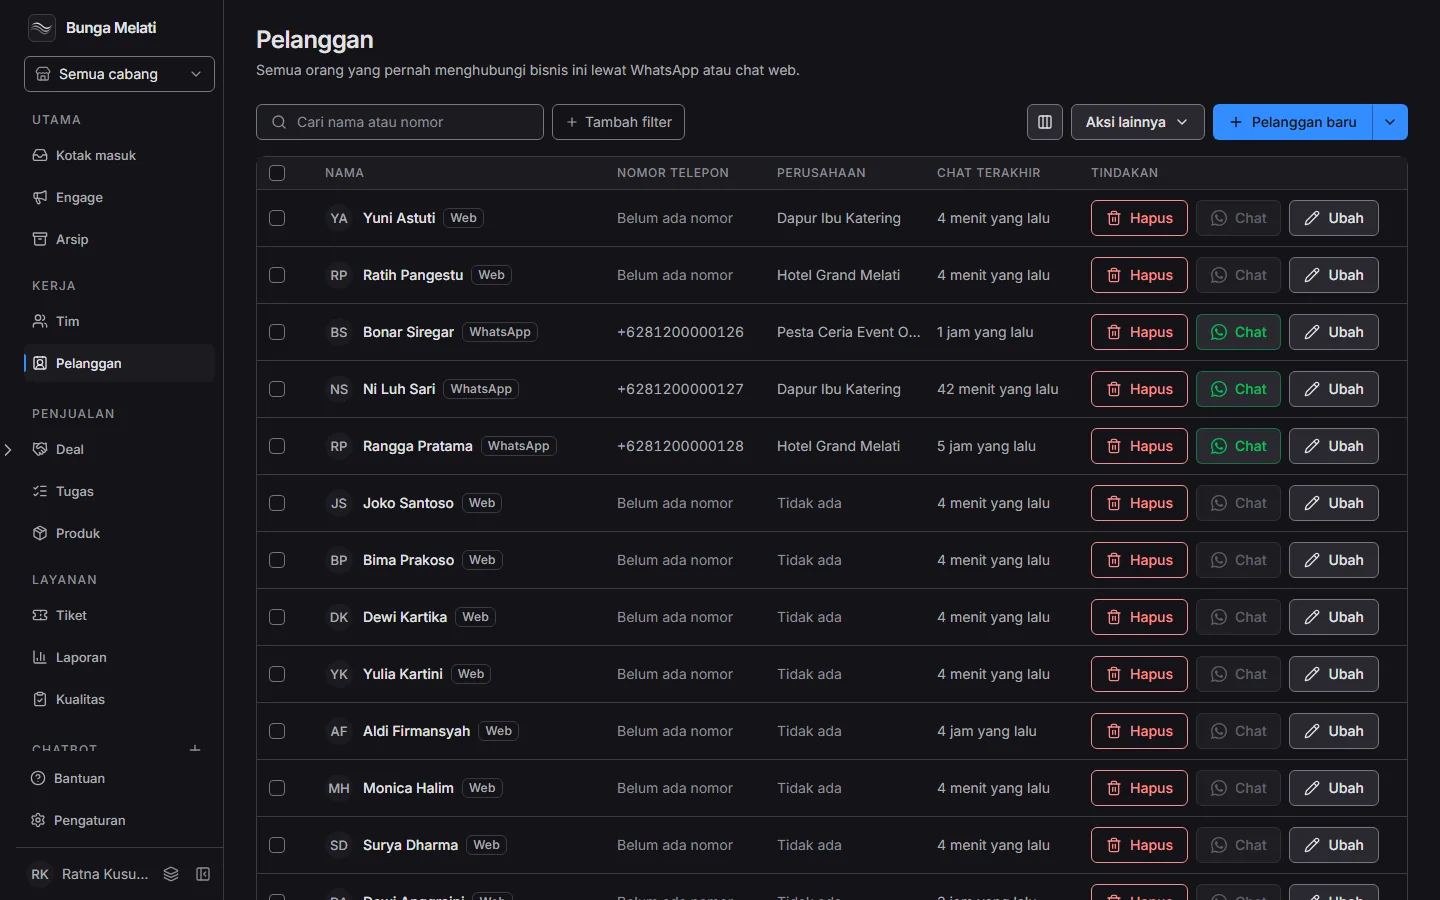
- Type in Search by name or phone to search.
- Click Add filter to narrow by Source, Company or Segment. Inside a segment, search, source and company do not apply, and Wavely says so in a note under the toolbar.
- Chat opens the WhatsApp chat with that customer. The button stays off until the customer has a phone number.
- Remove is there for owners and admins only.
An agent who sees only their own team sees only the customers within reach.
Add and edit a customer
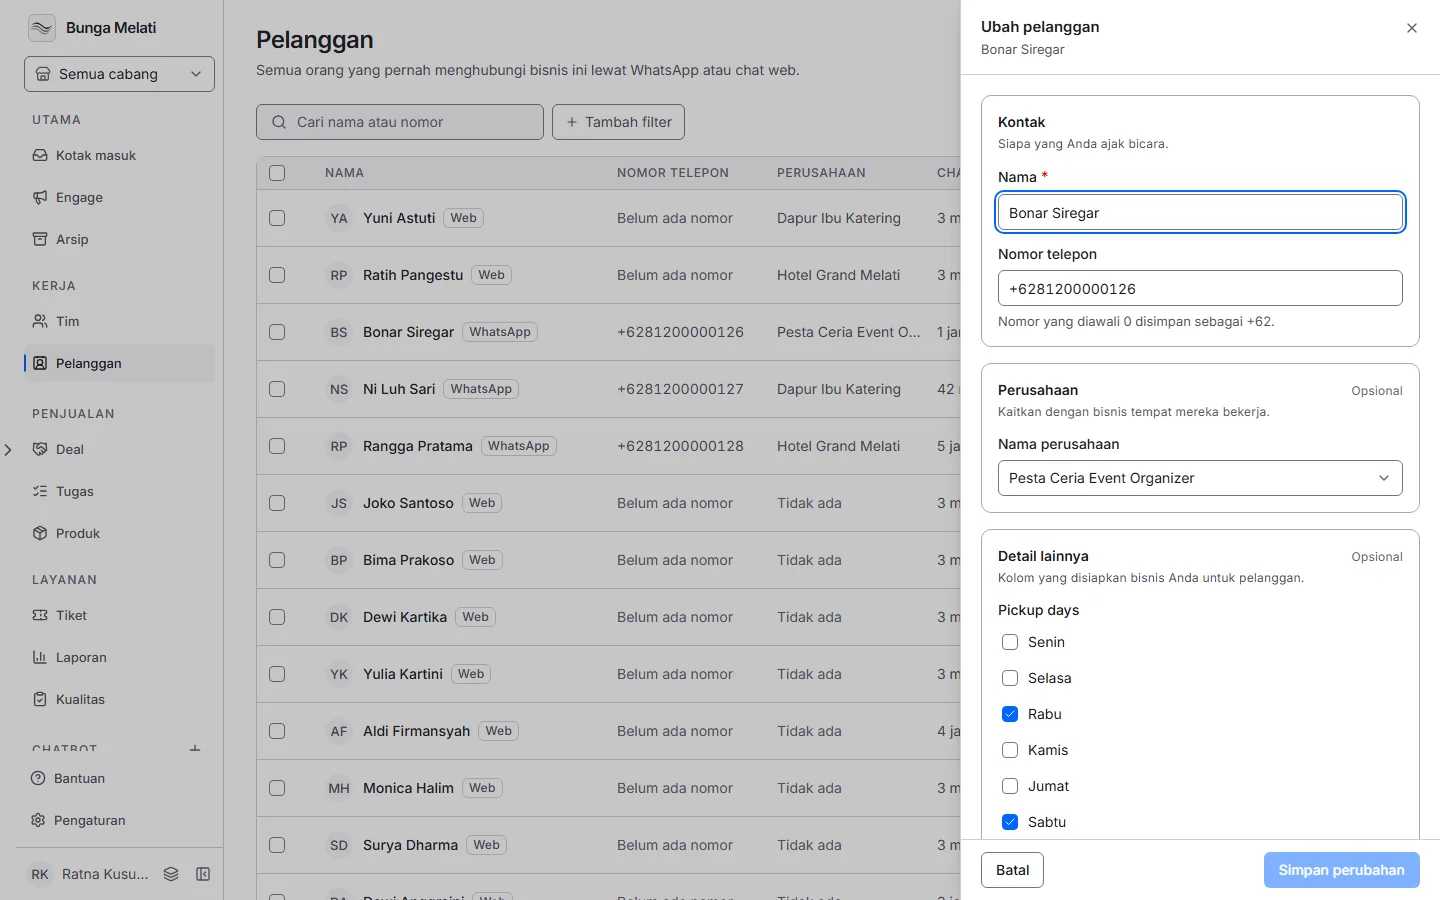
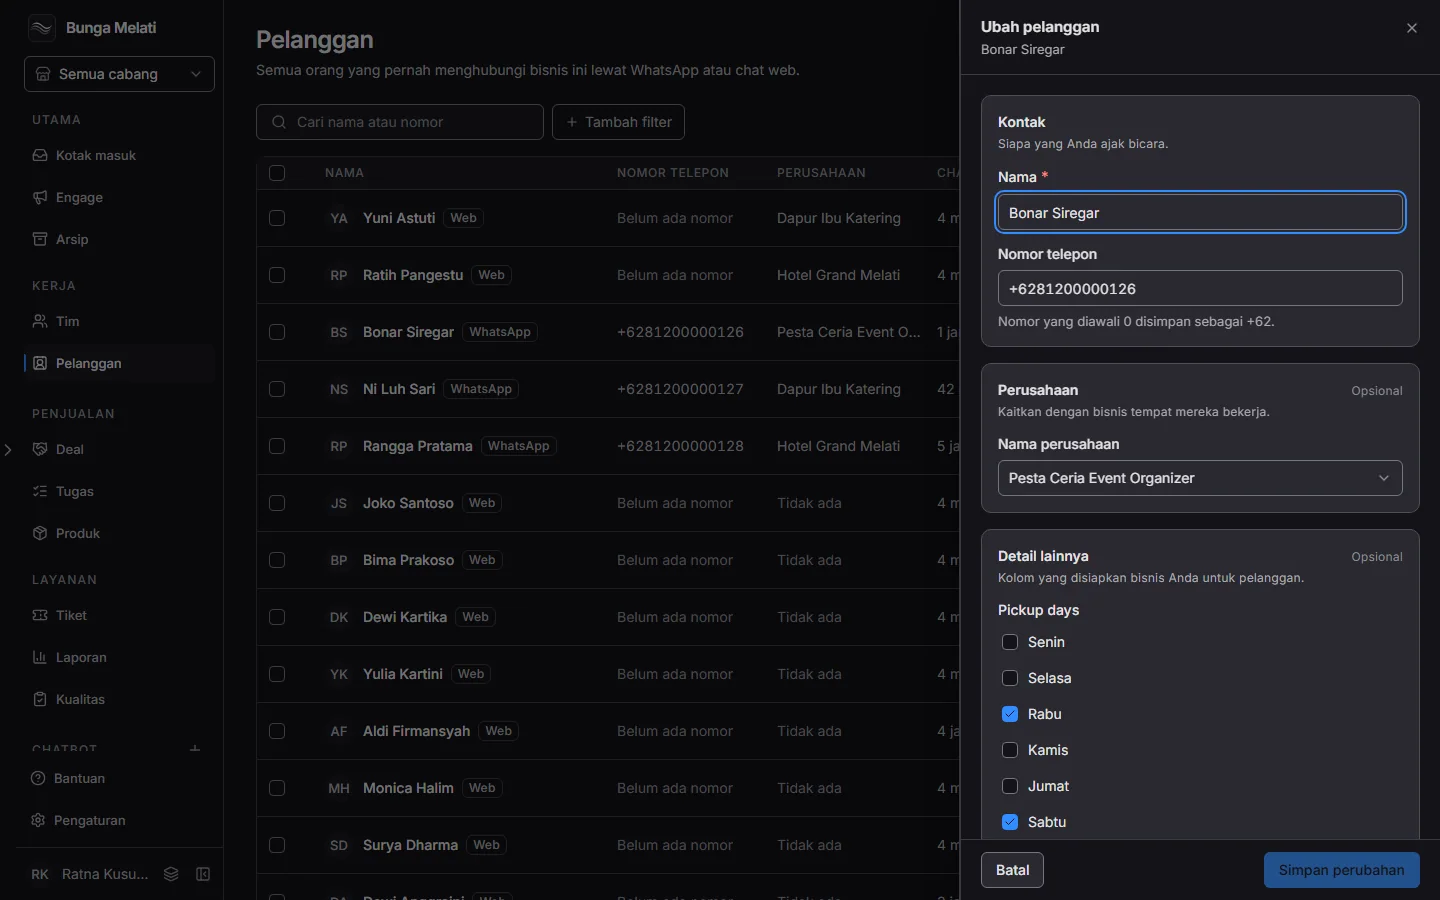
- Click New customer, or Edit on a row.
- Fill in Name, which is required, and Phone number. A number that starts with 0 is saved as +62.
- In Company name, type to search. If the company does not exist yet, choose Add “name” and Wavely creates it. No company unlinks it.
- Fill in More details. Fields marked with a red star are required.
- Click Add customer, or Create and add another to go straight to the next one.
Every role can add and edit customers.
Customer and company pages
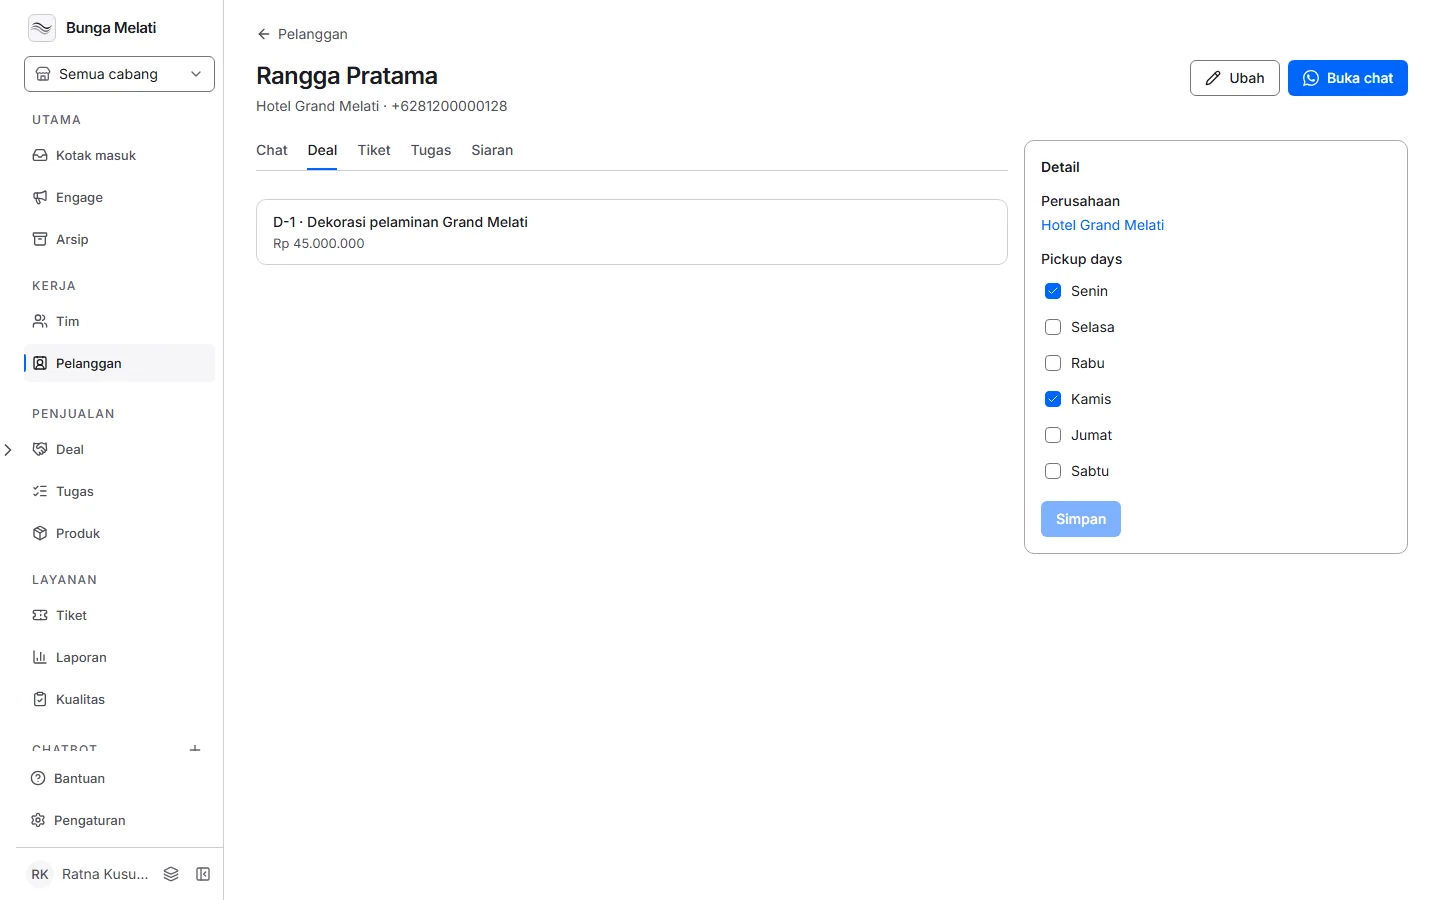
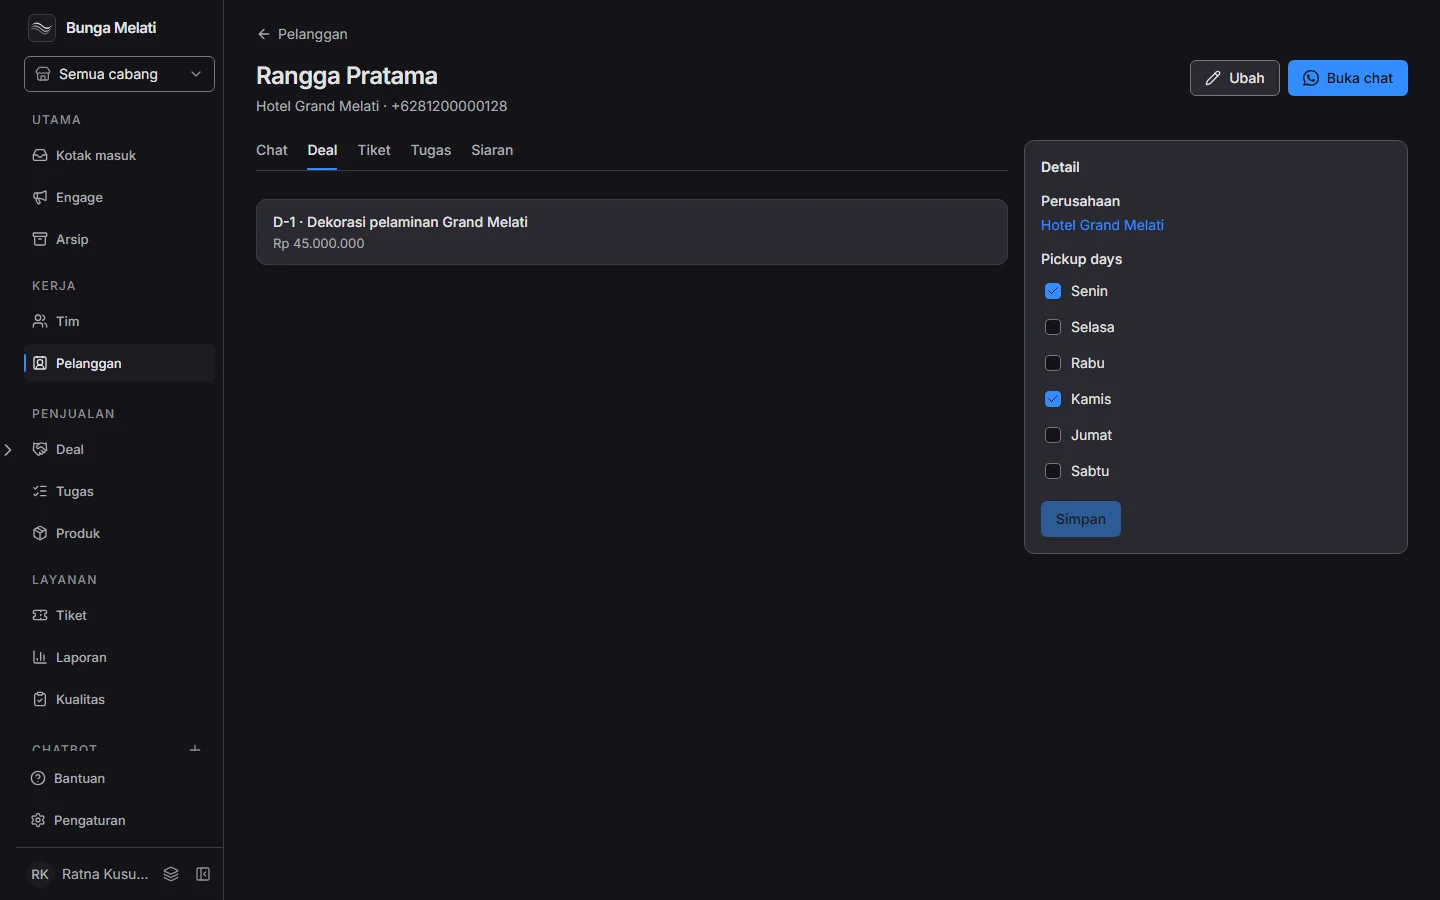
Click a customer's name to open the profile. Open chat opens the conversation, and Edit opens the same panel. The tabs Chats, Deals, Tickets, Tasks and Broadcasts show that customer's records. The Details box on the right holds the company and the customer fields, with its own Save button.
Click a company name to open its page: the customers at that company, plus Name, Industry and Website. Click Save details to keep a change. Remove company, for owners and admins only, unlinks its customers and deletes the details saved on that company.
Customer fields
Customer fields are extra details, such as the number of rooms or a tax ID. Owners and admins manage them in Settings, Customer fields, or through More actions on the customer list.
- Pick Customers or Companies at the top, then click New field.
- Fill in Label, Key and Type: Text, Number, Date, One choice, Several choices or Yes or no. For the two choice types, write one choice per line.
- Turn on Required when a record cannot be saved without the field.
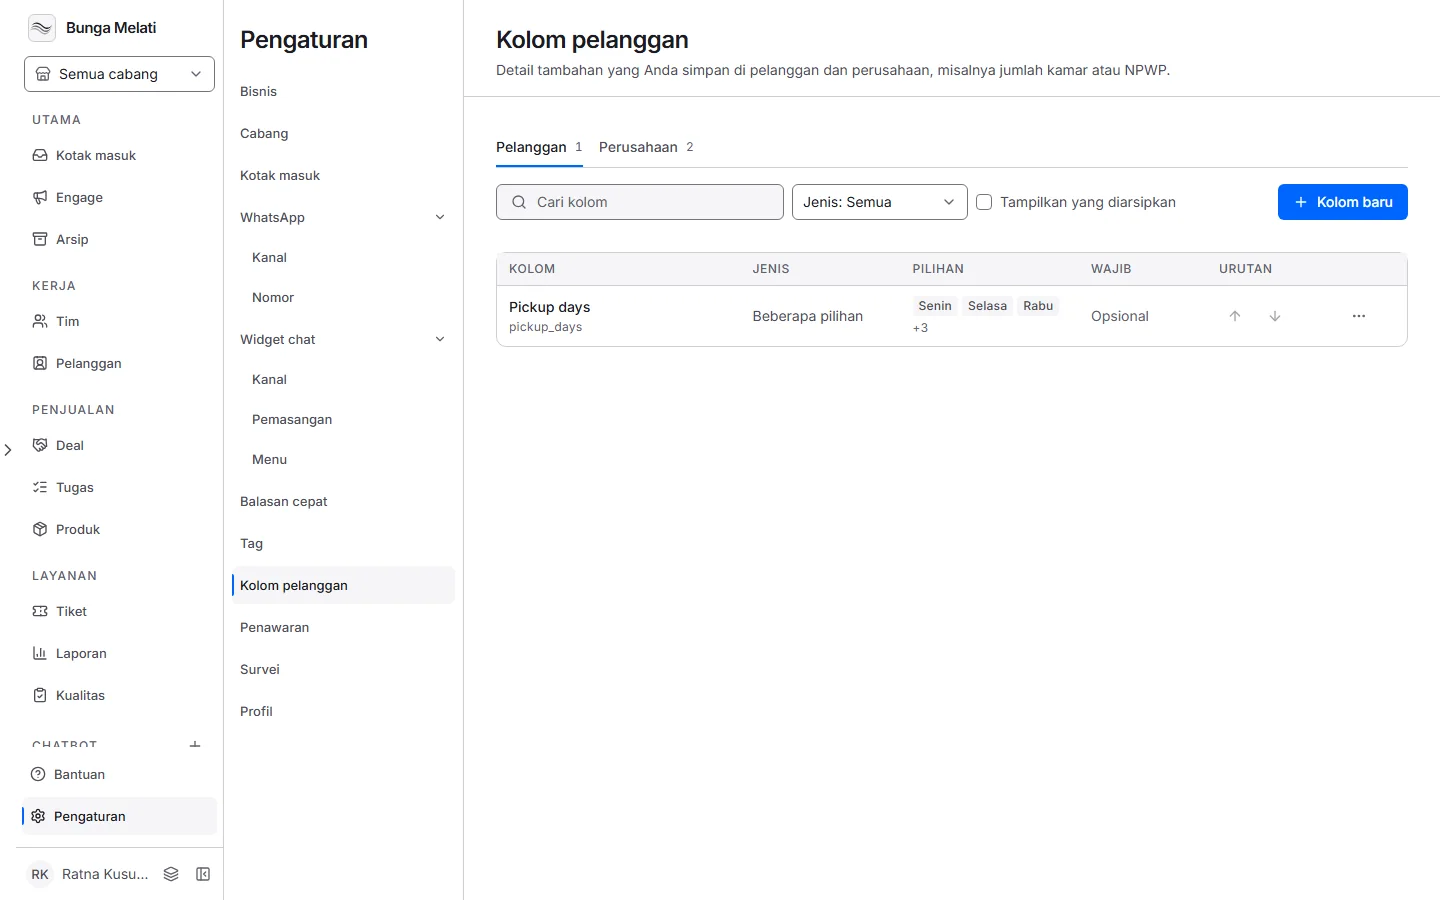
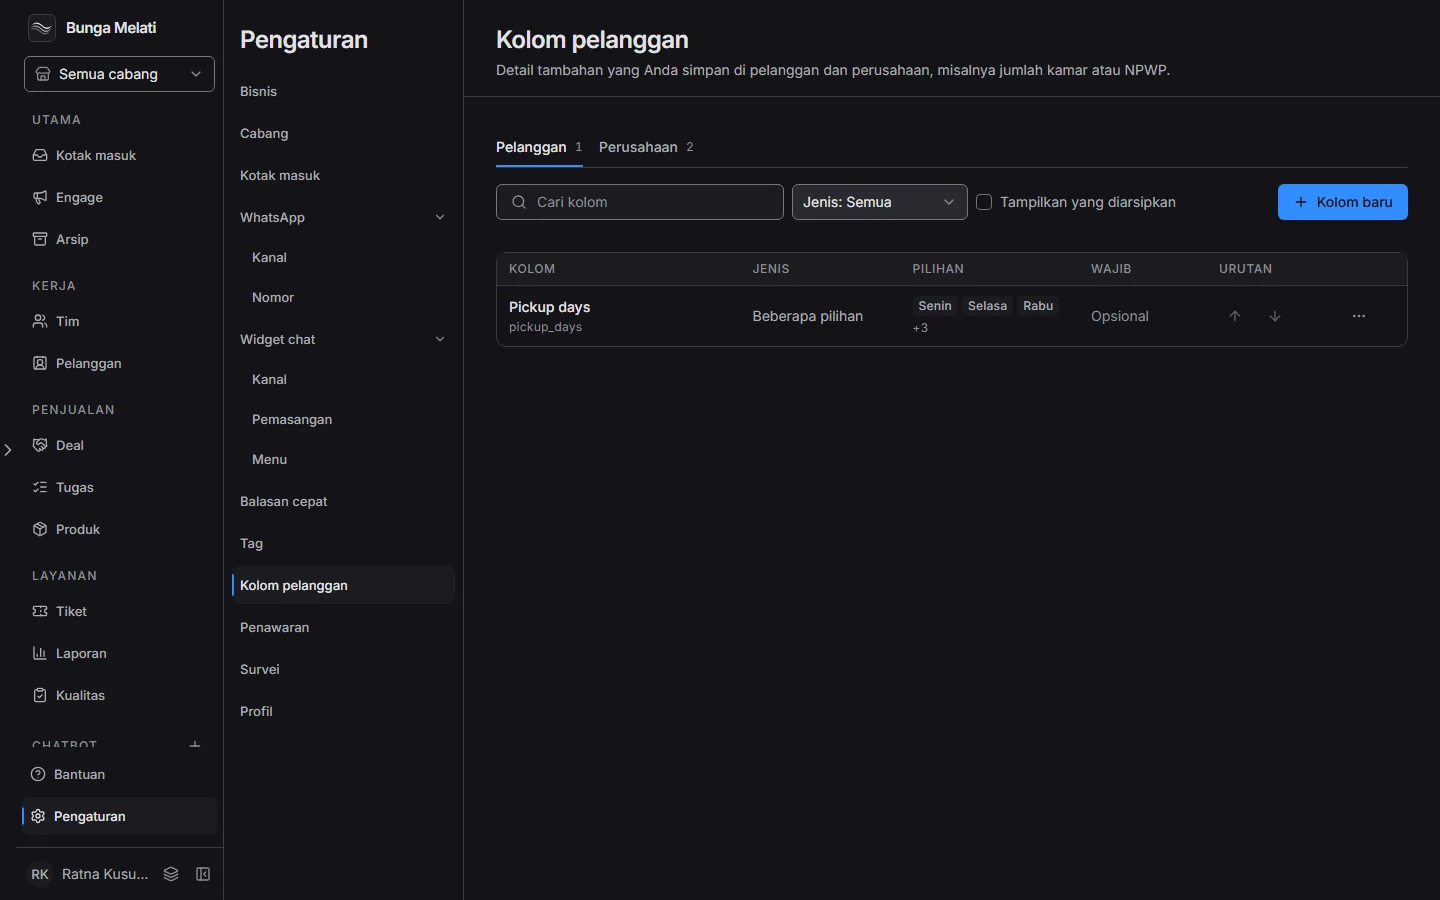
The key and the type cannot change once saved. The arrows in the Order column set the sequence. Archive field takes a field out of forms, exports and the import template. Its saved values stay, and nobody can reuse its key. A business can hold 100 active fields for customers and 100 for companies.
Segments
A segment is a group of customers saved as rules rather than a list of names, so its members change as customers change. Open it through More actions, Manage segments.
- Click New segment and give it a Name.
- Under Who is in it, pick a search text, a source or a company. A customer must match every rule.
- Under Customer fields, add up to 10 rules on the fields you created.
- Save. Who matches shows the count and the first five members.
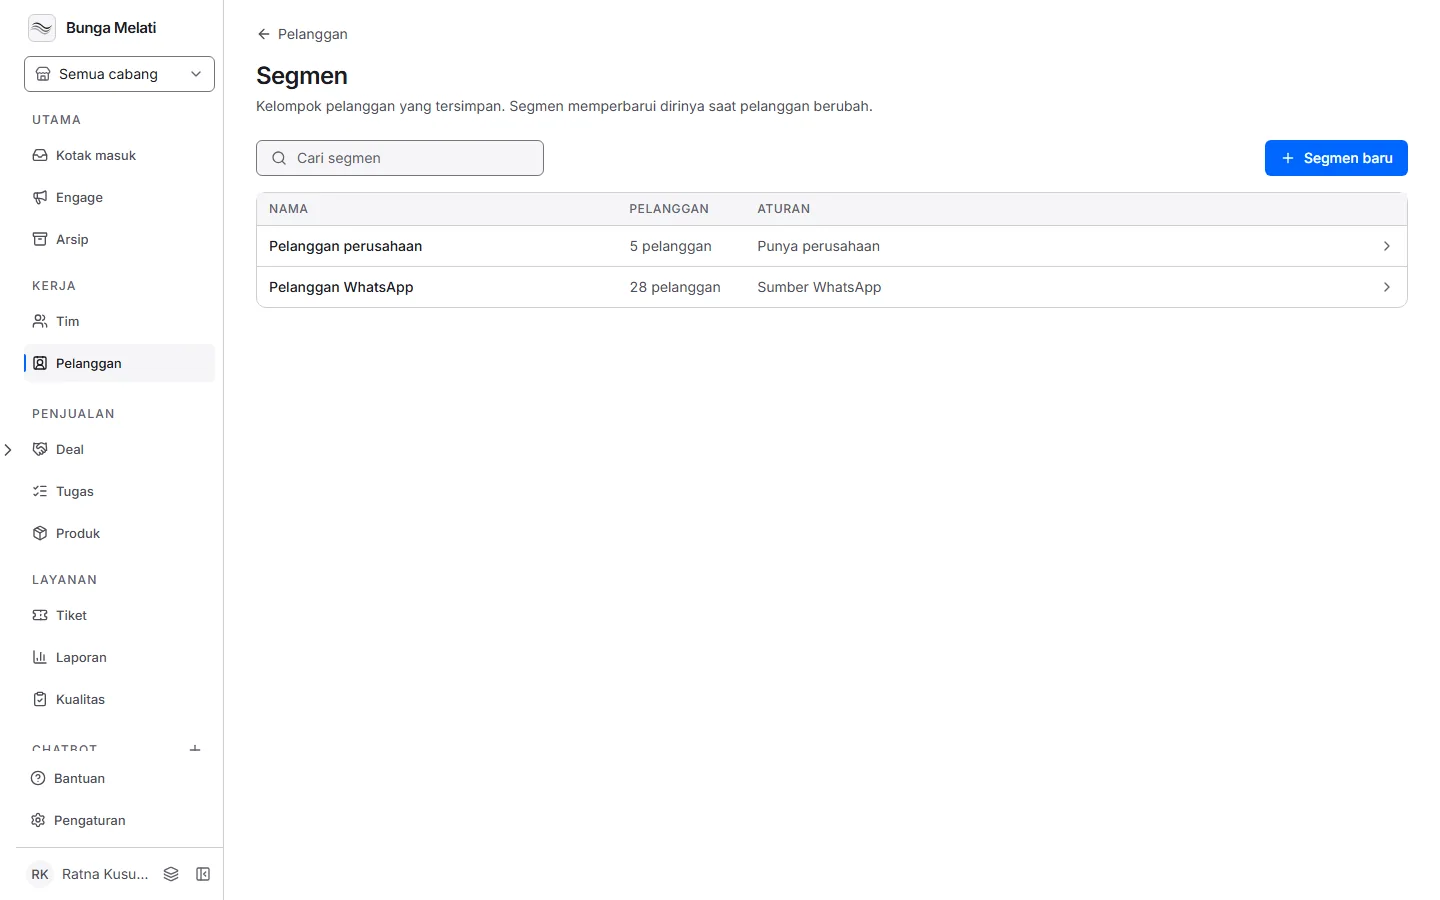
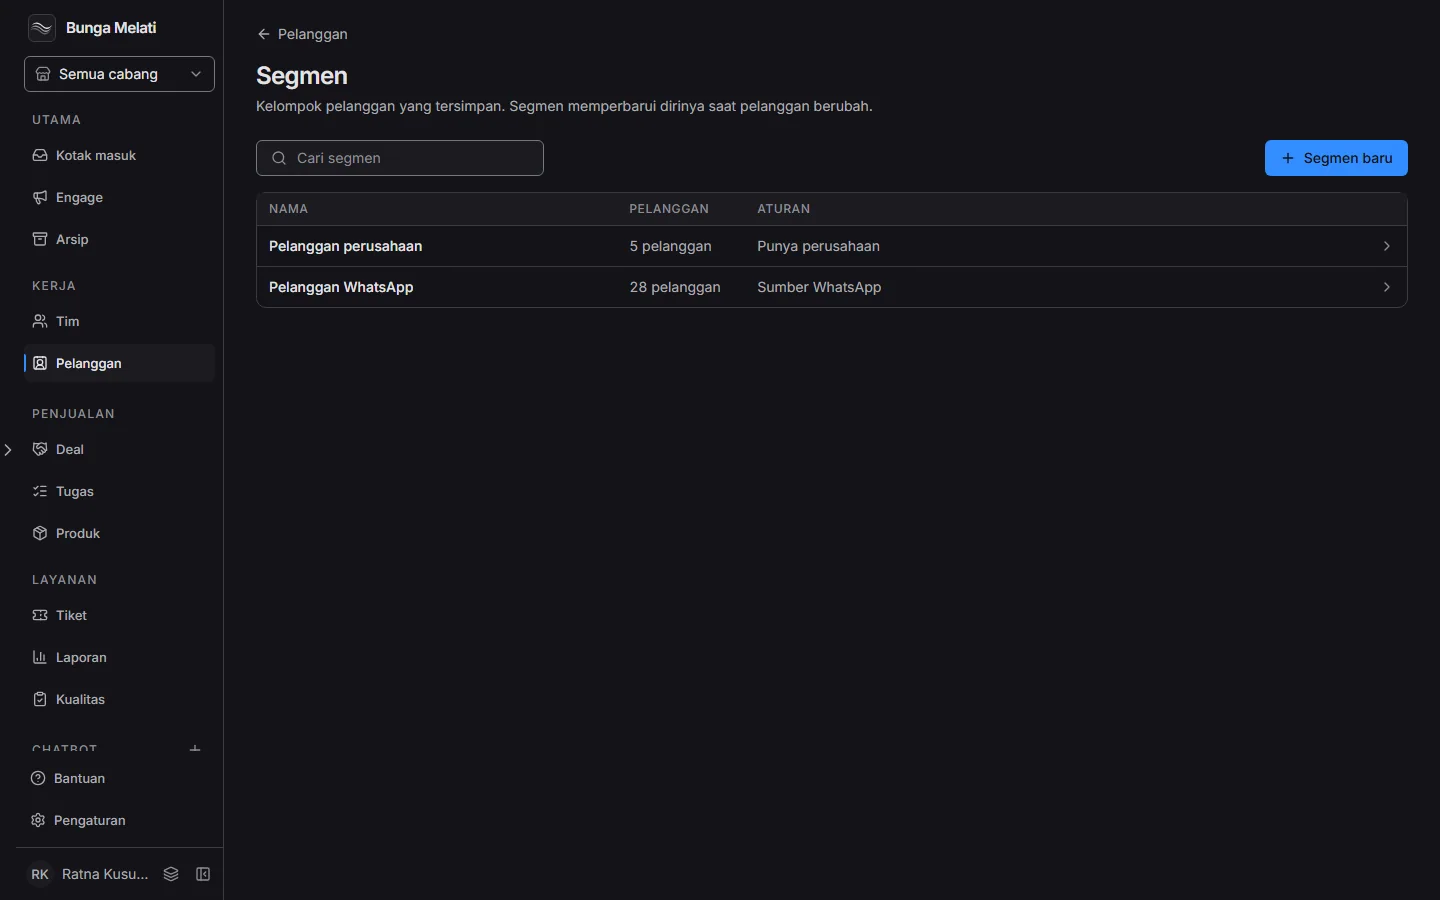
A business can have 50 segments. Every role can create and edit them. Removing a segment does not remove its customers.
Import from a file
Owners and admins can add many customers at once. Click the arrow beside New customer, then Import from a file.
- Click Download the template. It holds name, phone, company and one column for each customer field.
- Fill in the file, then pick it with Choose a file. The format is
.csvor.xlsx, up to 2 MB and 5,000 rows. - Click Import. The report shows Added, Updated and Skipped, with the reason for each skipped row.
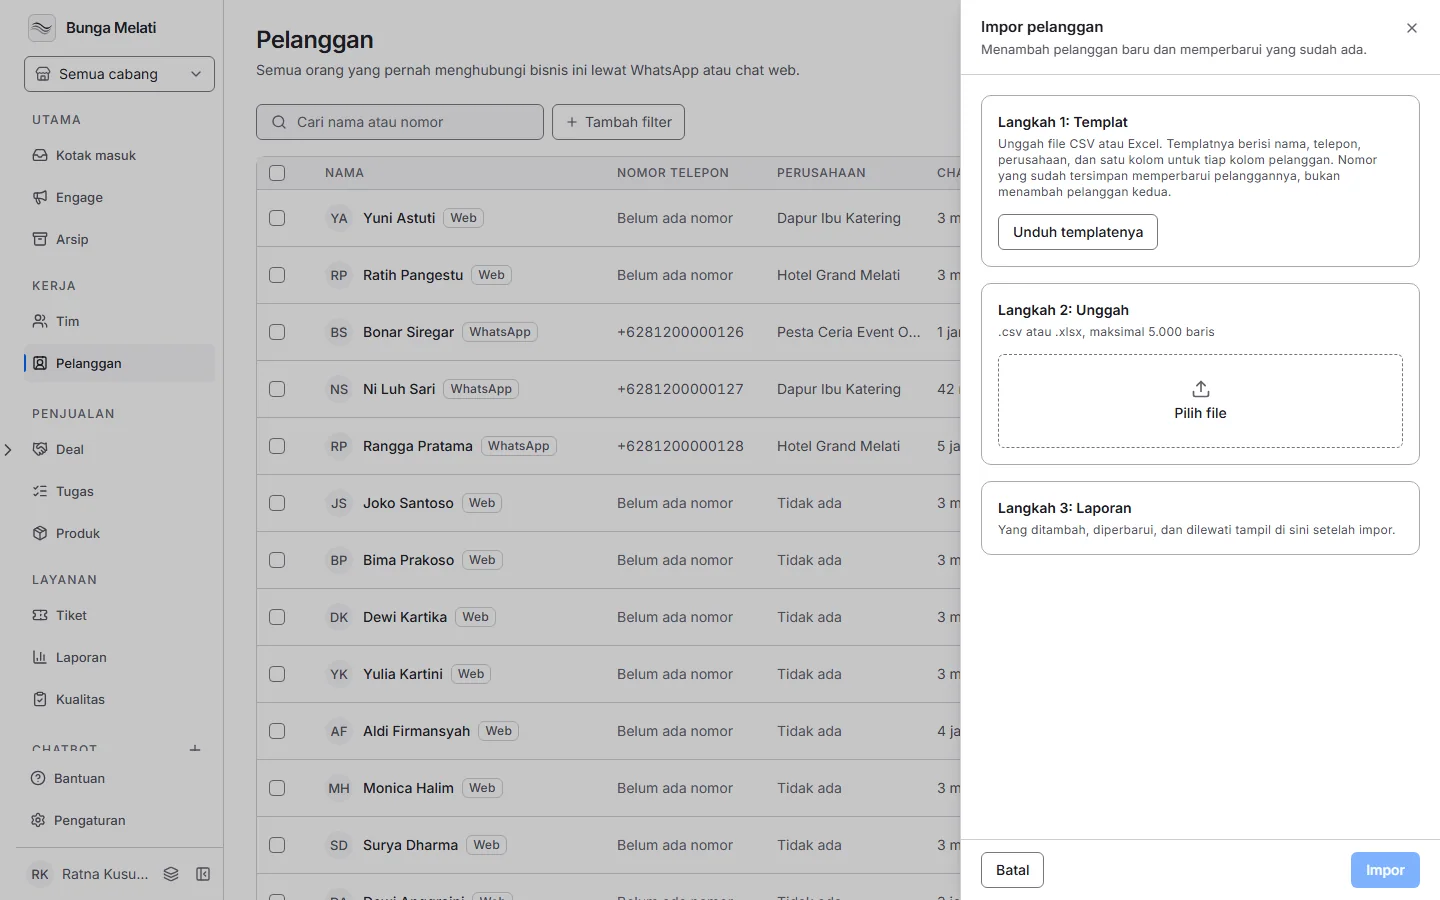
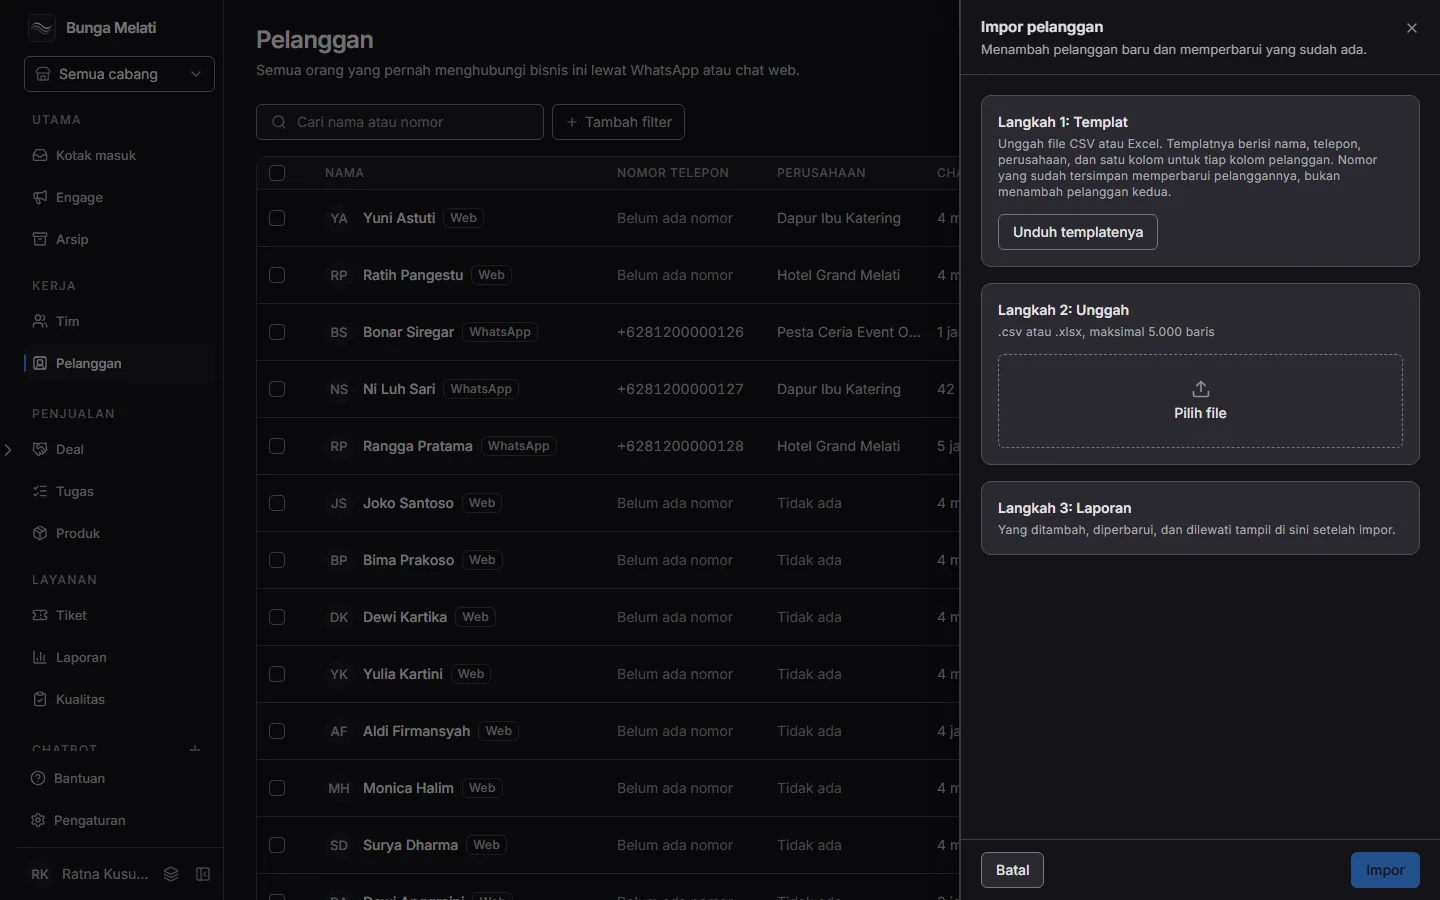
A phone number that is already saved updates that customer instead of adding a second one. A row is skipped when its number is not valid, its name is empty, its number appears twice in the file, or another customer already has it. A row is also skipped when the company name is not valid, a field value does not fit its type, or a required field is empty.
Export
Owners and admins can export customers. Tick rows in the list, then choose Export selected. Pick the Format, CSV or XLSX, and the Timezone, choose the columns to include, then click Start export. The export runs in the background, so you can leave the page.
The result is under More actions, Export history. That history holds the exports of every teammate, and a file stays for 30 days. One file holds at most 50,000 rows.
Note: If an export fails, click Try again in the history.